 Save
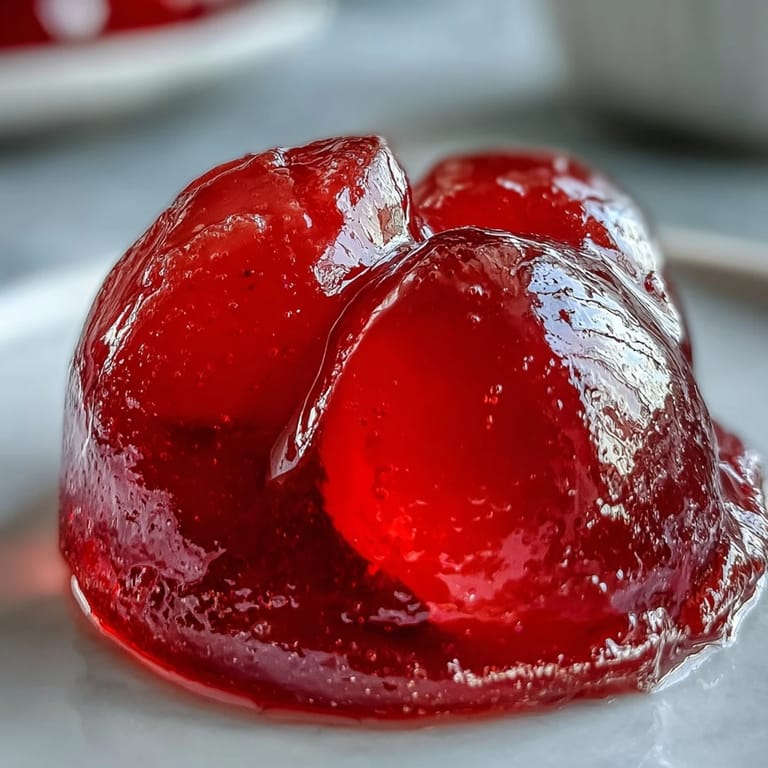
Save There's something almost magical about the moment when clear guava juice transforms into jeweled jelly in your pot, shifting from pale pink to deep ruby as it reaches that perfect gel stage. I discovered this recipe while watching my neighbor stir a massive batch on her kitchen counter, the steam rising up like she was conducting some ancient culinary ritual. She caught me staring and handed me a warm spoonful on a cracker, and that was it—I was completely sold on making my own.
I made this for the first time on a sweltering summer afternoon when guavas were practically falling off the tree in my friend's backyard. We picked them together, laughing at how juice-stained our hands got, then spent the evening in her kitchen waiting for that miraculous drip-drip-drip of clear nectar through cheesecloth. By midnight, we had jars cooling on the counter, and she broke out some fresh bread just to taste them warm.
Ingredients
- Ripe guavas (1.5 kg or about 3.3 lbs): Look for fruit that yields slightly to pressure and smells intensely fragrant at the stem—this is your signal that the natural sugars and pectin are at their peak, which means better jelly with less effort.
- Water (4 cups): This gentle medium coaxes out all the flavor and juice from the fruit without overwhelming the delicate taste, so don't skip or reduce it.
- Granulated sugar (4 cups): The exact ratio of one cup per one cup of extracted juice is what creates that perfect wobble, so measure carefully after straining.
- Lemon juice (2 tbsp): Beyond brightening the flavor, the acid helps activate the pectin and gives the jelly that subtle tang that makes people ask for your recipe.
Tired of Takeout? 🥡
Get 10 meals you can make faster than delivery arrives. Seriously.
One email. No spam. Unsubscribe anytime.
Instructions
- Prepare and Cook the Fruit:
- Wash your guavas under cold water, rubbing gently to remove any dirt. Cut them into quarters without peeling or removing seeds—yes, really—because all that will be strained out later, and the skins and seeds are packed with pectin that's essential for setting.
- Simmer Until Soft:
- Place the cut fruit in a large saucepan, add water, and bring everything to a boil over medium heat. Once you see the rolling boil, turn the heat down and let it simmer gently for about thirty minutes until the guavas completely break apart and become mushy.
- Strain Patiently:
- Line a strainer with a double layer of cheesecloth and position it over a bowl. Pour the cooked fruit and all its liquid into the lined strainer, then walk away—this is the hard part, but patience is your secret weapon here. Let it drip undisturbed for at least two hours or overnight, resisting every urge to squeeze or press the fruit because that's what turns clear jelly cloudy.
- Measure and Combine:
- Once you've collected your strained juice, measure it carefully and use one cup of sugar for every cup of juice. Pour the juice into a clean saucepan, add the lemon juice, and stir in your measured sugar until it begins to dissolve.
- Reach the Magic Temperature:
- Bring the mixture to a vigorous boil over high heat, stirring occasionally to help the sugar dissolve completely. Once it's boiling, use a candy thermometer to monitor the temperature—you're aiming for exactly 220°F (104°C), which typically takes fifteen to twenty minutes. Skim away any foam that rises to the surface as it boils, which keeps your finished jelly crystal clear and jewel-like.
- Test for Doneness:
- Drop a small spoonful of the hot jelly onto a cold plate and let it cool for a few seconds. Push it gently with your finger—if it wrinkles and doesn't flow back together, you've hit gel stage perfectly.
- Jar and Seal:
- Working quickly while the jelly is still hot, pour it into sterilized jars, leaving exactly one-quarter inch of headspace at the top. Seal the jars immediately to create a tight seal as they cool.
- Cool Completely:
- Let your jars sit undisturbed at room temperature until they're completely cool, which gives the jelly time to fully set and the lids to seal properly.
 Save
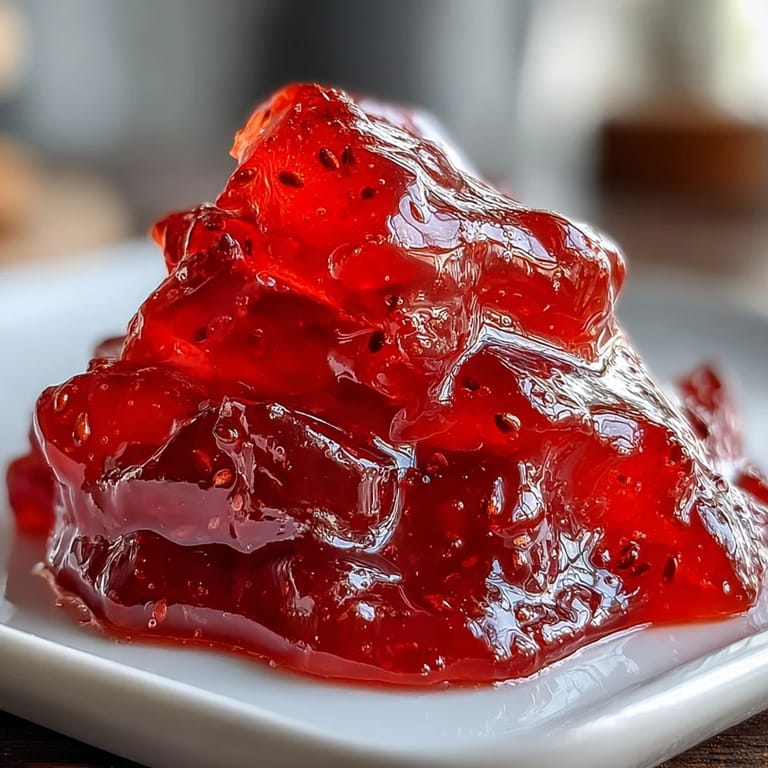
Save The day my homemade guava jelly finally set perfectly, I called my neighbor and brought her a jar still warm from cooling. We spread it on buttered toast at her kitchen table, and she closed her eyes like she was tasting something from her childhood—it turned out her grandmother used to make the exact same thing. That's when I realized this wasn't just about preserving fruit, it was about holding onto memories.
Why Patience Makes All the Difference
The dripping stage feels endless when you're staring at it, but this is where the magic truly happens. I once tried to speed things up by gently pressing the cheesecloth, thinking I was being efficient, and I ended up with beautiful jelly that was slightly murky instead of translucent. Now I deliberately plan my jelly-making for when I have other things to do—fold laundry, prep meals, read a book—because the waiting becomes part of the ritual rather than a frustration.
The Thermometer is Your Best Friend
I learned the hard way that eyeballing the jelly stage without a candy thermometer is like cooking without tasting—you might get lucky, but you're relying on chance. A reliable thermometer takes the guesswork out of knowing when to stop the boil, and that consistent 220°F mark is what separates runny syrup from proper jelly every single time. It's the one kitchen tool that truly transforms this from a risky experiment into something you can count on.
Endless Ways to Use Your Guava Jelly
Once you have jars of this jeweled preserve, the possibilities become endless and you'll find yourself reaching for it constantly. Beyond the obvious toast and morning toast, I've used it as a glaze for roasted meats, a filling for thumbprint cookies that makes everyone ask for the recipe, and swirled into vanilla yogurt for an elegant breakfast. The tart-sweet flavor plays beautifully with both savory and sweet applications.
- Dollop it into the center of baked cheesecake for a glossy finish and bright flavor contrast.
- Brush it onto warm pastries straight from the oven so it becomes a glossy, sticky coating.
- Stir a spoonful into sparkling water with fresh mint for an instant fancy drink.
 Save
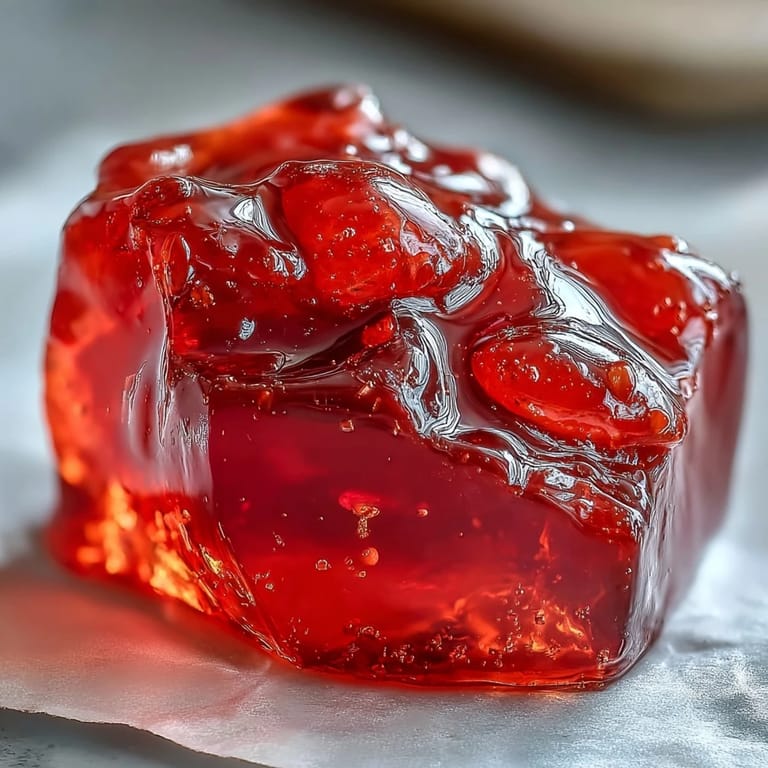
Save Making guava jelly transformed how I think about preserving food—it's less about following steps and more about respecting the fruit itself. Every batch you make becomes a little treasure to share or save for moments when you want something that tastes like summer.
Recipe FAQ
- → How long does guava jelly take to set?
After reaching the proper gel stage at 220°F, the jelly sets as it cools. Allow jars to rest undisturbed for 12-24 hours at room temperature to achieve the final consistency.
- → Can I use overripe guavas?
Overripe fruit contains less natural pectin, which may affect setting. Mix in some slightly underripe guavas or add commercial pectin if using very ripe fruit exclusively.
- → Why shouldn't I press the fruit while straining?
Pressing or squeezing releases particles and cloudiness into the juice. For crystal-clear jelly with that jewel-like appearance, let gravity do the work and allow liquid to drip naturally.
- → How should I store finished jars?
Properly sealed jars keep in a cool, dark place for up to a year. Once opened, refrigerate and consume within three weeks for the best quality and flavor.
- → What's the purpose of lemon juice?
The acid helps activate natural pectin, assists with reaching gel stage, and balances the sweetness. It also enhances the fruit's natural flavor while acting as a natural preservative.