 Save
Save My neighbor Maria showed up one afternoon with a paper bag full of guavas from her tree, refusing to let them go to waste. She had this knowing smile as she handed them over, like she was passing down something important. That evening, I started experimenting with them, and somewhere between the simmering pot and the sweet pink pulp taking shape, I understood why she made that paste every year. It became a ritual I couldn't skip now.
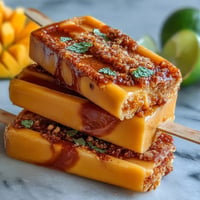
I made a batch last autumn to bring to a potluck, paired it with some local manchego, and watched people stop mid-conversation to figure out what they were tasting. One guest actually asked for the recipe right there, spoon in hand. That's when I knew this wasn't just a condiment—it was a conversation starter.
Ingredients
- Ripe guavas (1 kg or 2.2 lbs): You want fruit that yields slightly to pressure, fragrant and peachy-pink inside—underripe ones make the paste bitter, overripe ones lose structure.
- Granulated sugar (450 g or 2 1/4 cups): This is your backbone, but taste your guavas first because some batches are naturally sweeter and need less.
- Fresh lemon juice (2 tbsp): The acid cuts through richness and keeps the color from darkening too much during that long cook.
- Water (120 ml or 1/2 cup): Just enough to help the guavas break down without making the final paste watery or thin.
Tired of Takeout? 🥡
Get 10 meals you can make faster than delivery arrives. Seriously.
One email. No spam. Unsubscribe anytime.
Instructions
- Prep Your Fruit:
- Wash the guavas under cool running water, rubbing away any fuzz. Trim the hard ends away and quarter each one—you can leave seeds in if you don't mind them, but removing them now means less work later.
- Soften the Guavas:
- Drop your quarters into a large saucepan with the water and crank the heat to medium. Once it's boiling, cover and let them simmer for 15 to 20 minutes until they're so soft they fall apart when you press them with a spoon.
- Strain to Smoothness:
- This is where patience pays off. Push the soft guava through a food mill or fine mesh strainer into a clean bowl, working in batches if needed. You want just the silky pulp—discard everything gritty left behind.
- Balance Your Sweetness:
- Measure your strained puree and calculate sugar based on that yield, using roughly equal parts. Pour the puree back into your pot and stir in the sugar and lemon juice until everything dissolves.
- Cook Low and Slow:
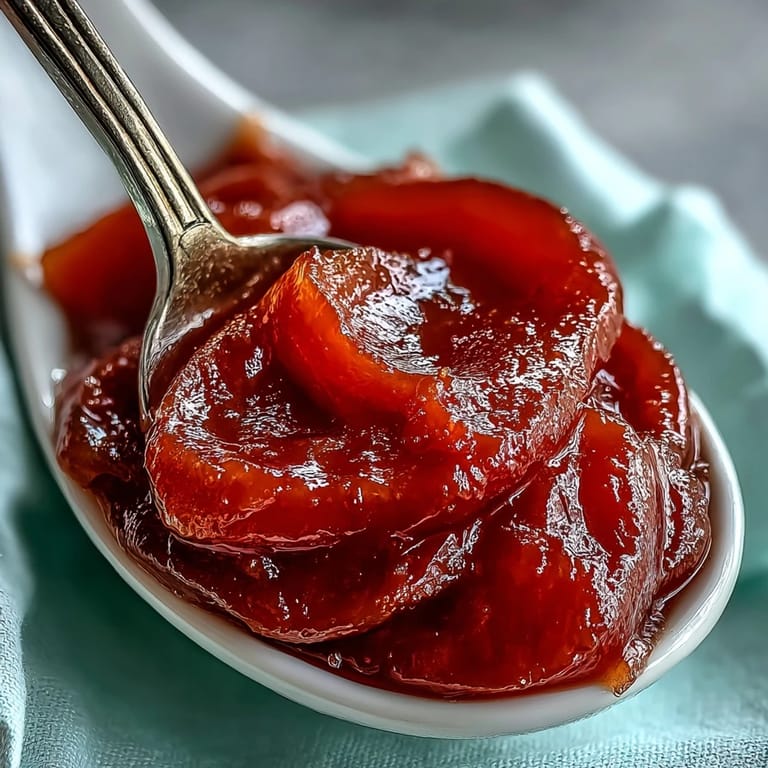
- Set the heat to low and stir constantly for 40 to 50 minutes, making sure nothing sticks to the bottom. The paste will darken from bright pink to a deeper rose, and that glossy sheen means you're close to done.
- Test for Thickness:
- Drop a small spoonful onto a cold plate—if it holds its shape and doesn't run, you've got it. If it still spreads, keep stirring and checking every few minutes.
- Set and Cool:
- Pour the thick paste into a parchment-lined loaf pan and smooth the top with a wet spatula. Let it sit at room temperature for 2 to 3 hours until it firms up completely before unmolding and slicing.
 Save
Save There's something almost magical about watching liquid turn into paste, especially when you realize you've just made something that tastes like concentrated summer. My kids now ask for it on toast before school, and I've started keeping a jar in the fridge at all times.
Storage and Keeping
Once fully cooled and unmolded, slice your paste into neat squares or cut it however you like. An airtight container in the refrigerator keeps it fresh for up to three months, though I've found it gets even better after a week as the flavors deepen. If you want to gift it, stack the slices in a jar with parchment between each one for a really pretty presentation.
Pairing Ideas and Uses
This paste shines alongside sharp aged cheese—manchego, queso fresco, or even a hard cheddar all work beautifully. It's also wonderful as a pastry filling, swirled into yogurt, or simply placed on a wooden board with some crackers for a simple, elegant dessert. I once melted a slice on top of vanilla ice cream and it was transcendent.
Making It Your Own
The base recipe is flexible, which is one of its best qualities. Your guava paste should taste like your guavas, so always adjust the sugar level to match what you're working with. Some cooks add a pinch of cinnamon or vanilla, while others stay true to the pure fruit flavor.
- If your guavas are exceptionally tart, add sugar gradually and taste as you go rather than measuring exactly.
- A tiny pinch of salt brings out the fruit's complexity without making anything taste salty.
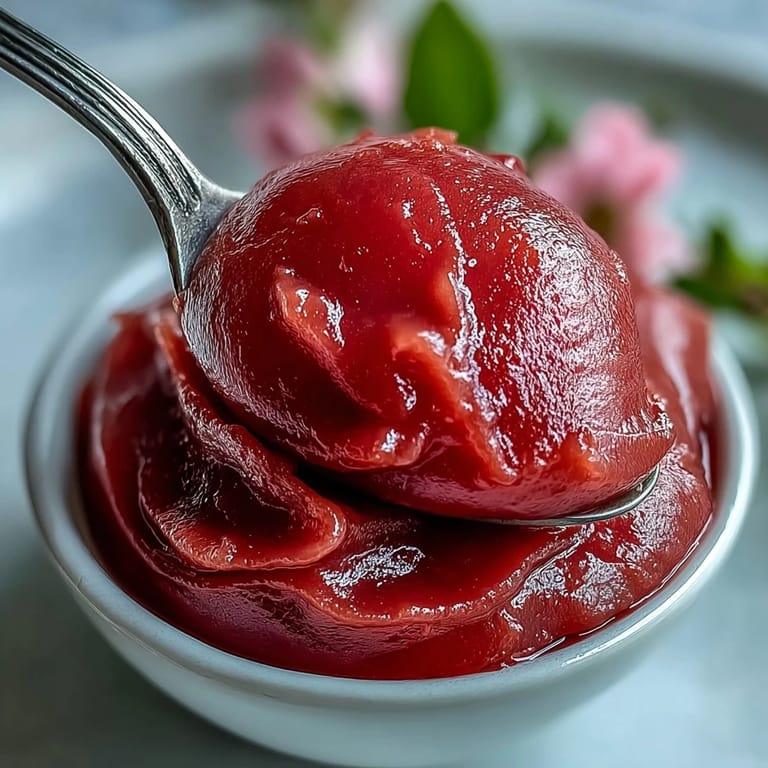
- Let the paste cool completely before judging the thickness, because it continues to set as it cools and firms up even more in the fridge.
 Save
Save Making guava paste feels like unlocking a small kitchen secret, one that tastes better the more you share it. Once you've made it once, you'll find yourself searching for excuses to make it again.
Recipe FAQ
- → What is the best way to strain guava pulp?
A food mill works excellently for removing seeds and skins while extracting maximum pulp. If using a fine mesh strainer, press the cooked guava through with a spoon or spatula, working in batches. For the smoothest results, take your time and really work the pulp through the mesh.
- → How do I know when the guava paste is finished cooking?
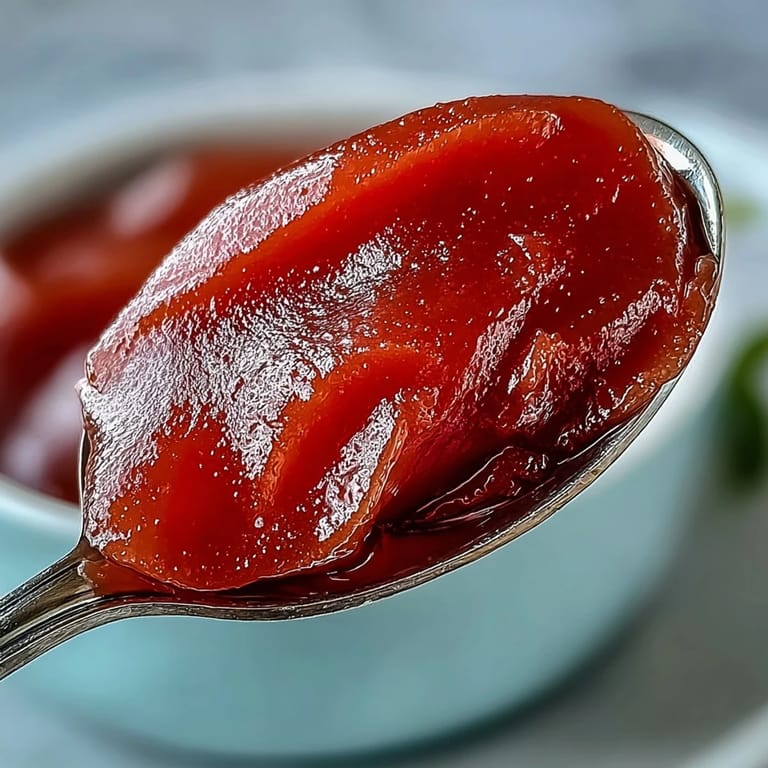
The paste is ready when it becomes very thick, glossy, and pulls away from the sides of the pan as you stir. A classic test is dragging your spoon through the mixture—the trail should remain visible rather than filling back in immediately. The paste should also hold its shape on a spoon rather than running off.
- → Can I adjust the sweetness level?
Absolutely. The specified sugar ratio creates a traditional sweet paste, but you can reduce it by up to 25% if your guavas are particularly ripe and sweet. Keep in mind that sugar also acts as a preservative, so significantly reducing it may shorten the shelf life. Taste the puree before adding sugar to gauge its natural sweetness.
- → What cheeses pair best with guava paste?
Manchego is the classic pairing, but the paste also complements creamy cheeses like goat cheese, brie, or cream cheese. Sharp cheeses such as aged cheddar or gouda provide a nice contrast to the sweet tropical flavor. Serve on a charcuterie board with crackers or crusty bread for an elegant appetizer.
- → How should I store the finished guava paste?
Wrap the cooled paste tightly in parchment paper or plastic wrap, then store in an airtight container in the refrigerator. It will keep for up to 3 months. For longer storage, cut into portions and freeze in freezer-safe bags for up to 6 months. Thaw in the refrigerator before serving.
- → Can I make this with other fruits?
This technique works beautifully with quince, membrillo, or even mango. Adjust the sugar amount based on the fruit's natural sweetness and tartness. Cooking times may vary depending on the fruit's water content—mangoes typically require less time than guavas or quinces.